Installation
ISOTEC PARETE INSTALLATION VIDEO
Watch on Youtube
1
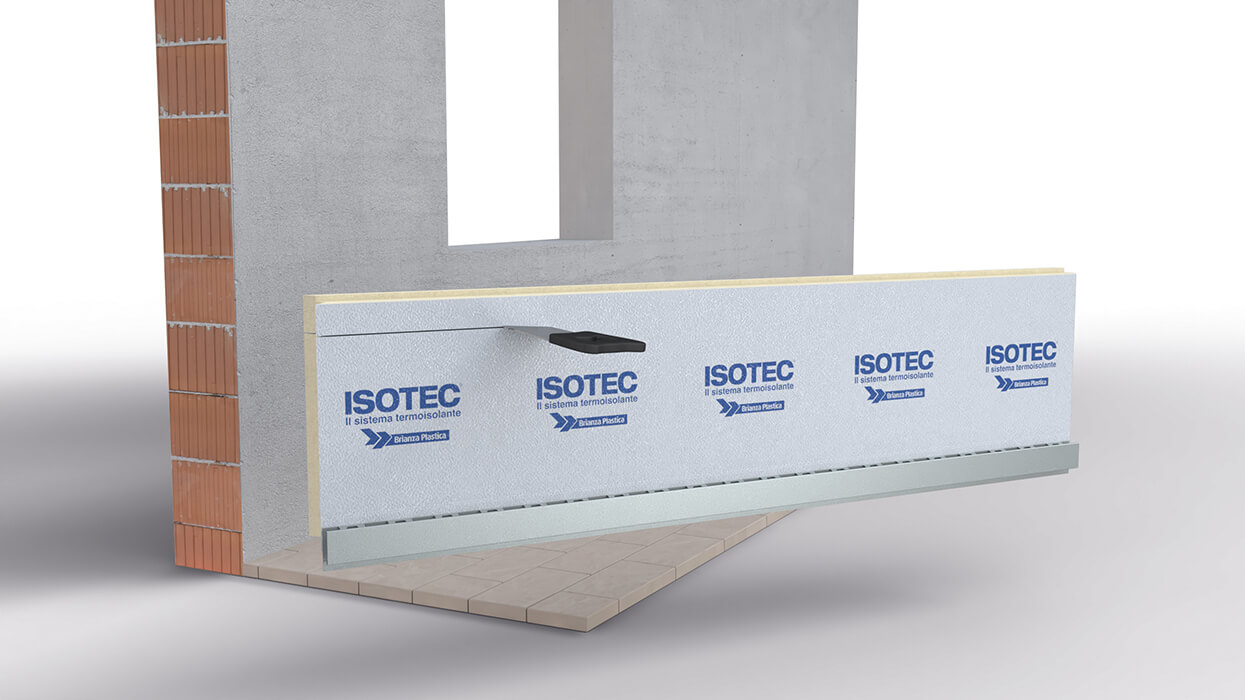
CUTTING THE STARTING ELEMENT, HEIGHT ≥ 65MM
The starting element at the base, with a height of no less than 65 millimeters, is obtained by cutting a standard panel, which will then be set aside for later use at the top. This procedure is applied to the entire first row of panels.


2
LAYING THE STARTING ELEMENT
Installation of the Isotec Parete panel must start from the bottom and move upward, proceeding from left to right along the wall. Before installing the base element, apply aluminum butyl tape to the part that will be in contact with the ground.
3
MECHANICAL FIXING IN A LATTICE PATTERN
Fix the Isotec Parete panel to the supporting structure using expansion plugs, self-tapping screws, or through-bolts that pass through the metal stiffener. Make sure to use the pre-drilled holes in the stiffener, alternating the fixings between the lower and upper parts of the stiffener.


4
PANEL MATCHING
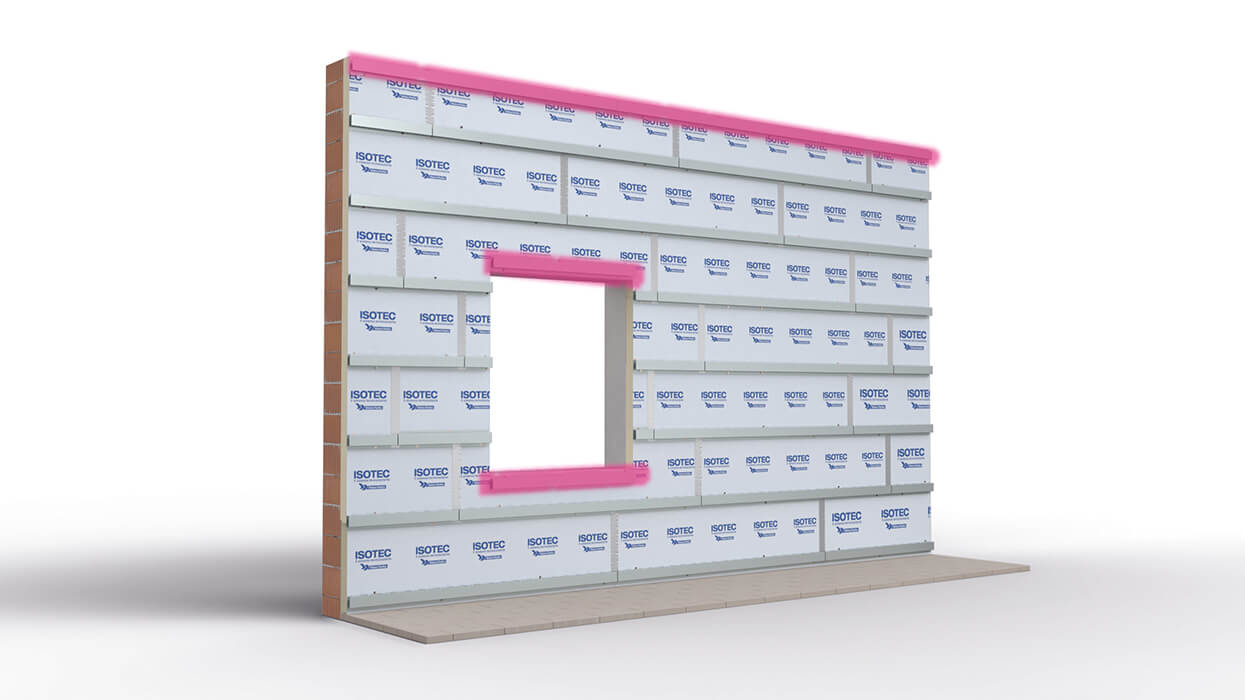
At the bottom of a window or opening, lay the first row of panels continuously, covering the opening. Once installed, trim the panels at the opening using a hacksaw for the polyurethane core and a circular saw for the stiffener.
5
ARRIVING AT THE TOP
The offcut obtained from the last panel of each row will be used to start the next row, creating a staggered joint layout and minimising waste. Continue installing the panels in this manner until reaching the top of the facade.


6
APPLYING LOOSE STIFFENERS
Loose stiffeners should be positioned where needed to ensure proper anchoring of the cladding material.
7
SEALING OF JOINTS
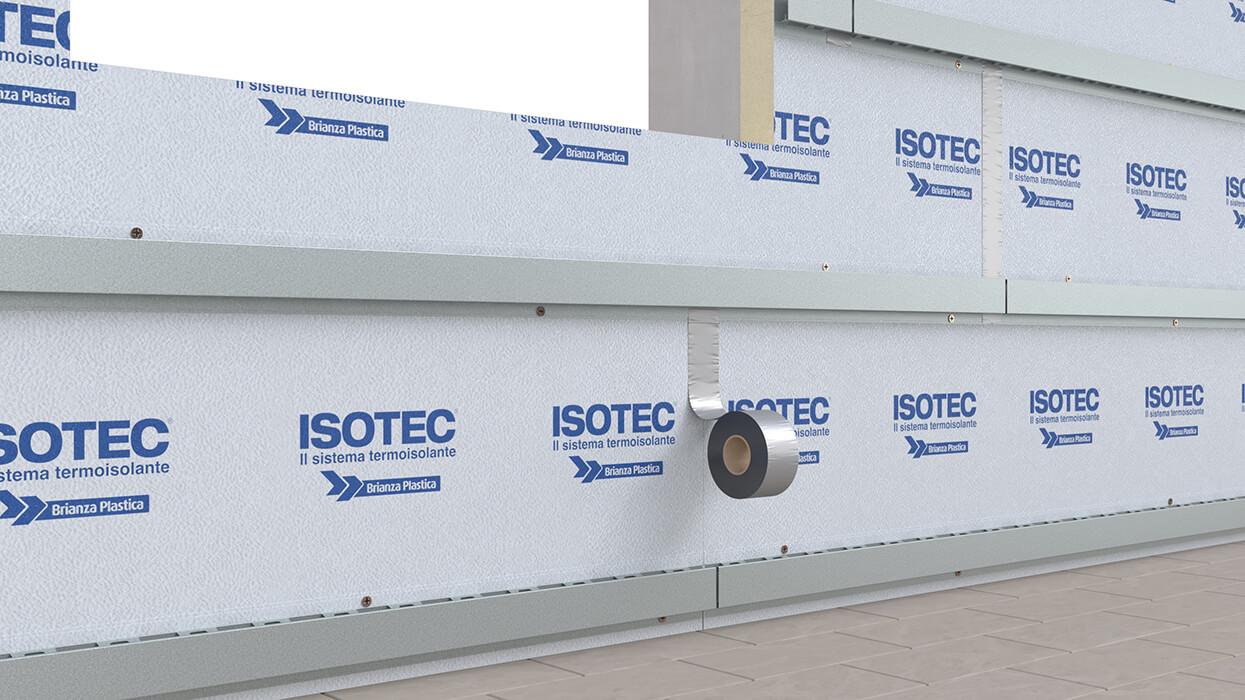
Once panel installation is complete, apply Isoband butyl membrane along all vertical joints and on any exposed polyurethane areas to ensure complete protection of the insulating material.

