Installation
ROOF INSTALLATION
FIXING GUIDE


1
ROOF PANEL INSTALLATION
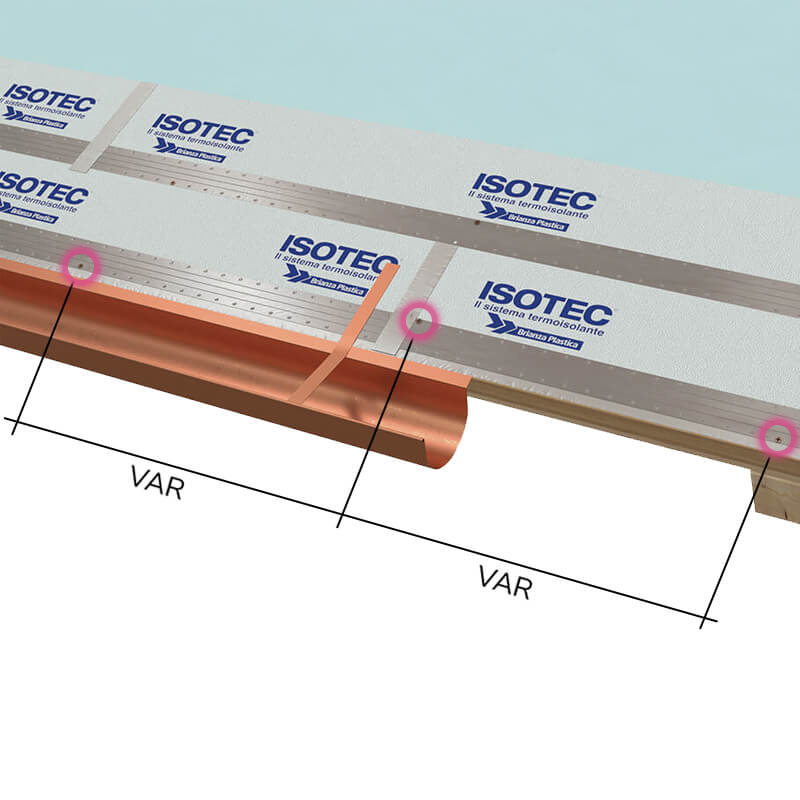
Fix a wooden stop batten along the eaves line, with a height equal to the thickness of the panel. This batten also serves as the first anchoring point for the eaves channel. Secure the Isotec Linea panel to the structure using mechanical fasteners, beginning at the eaves and working upward toward the ridge. Use the holes in the metal stiffener for this operation.
2
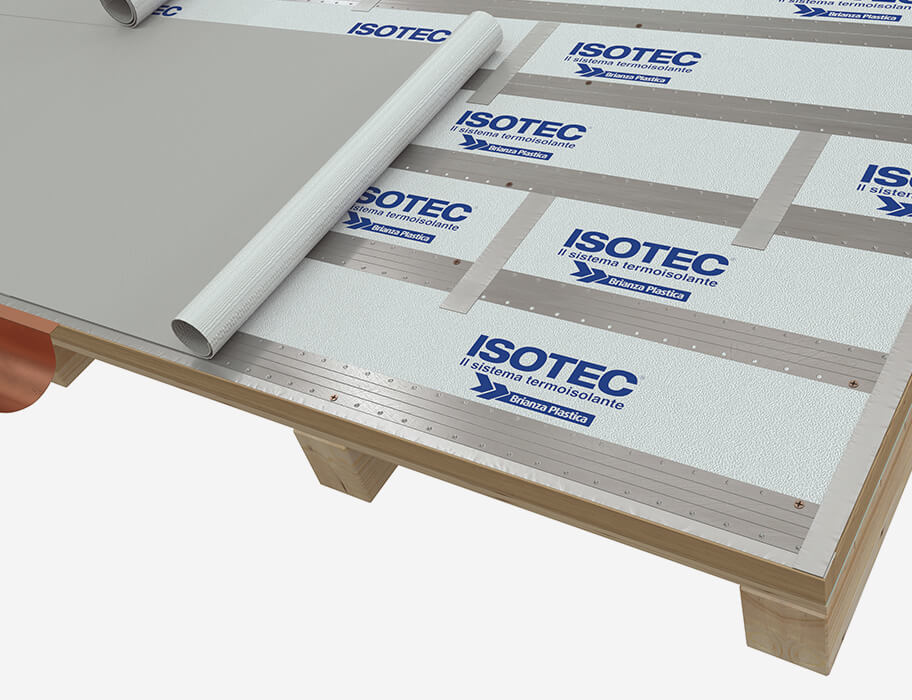
MEMBRANE APPLICATION


3
METAL ROOF FIXING
Install the metal roof covering and secure it to the metal stiffener using the brackets provided. This step completes the roof package.
WALL INSTALLATION
FIXING GUIDE
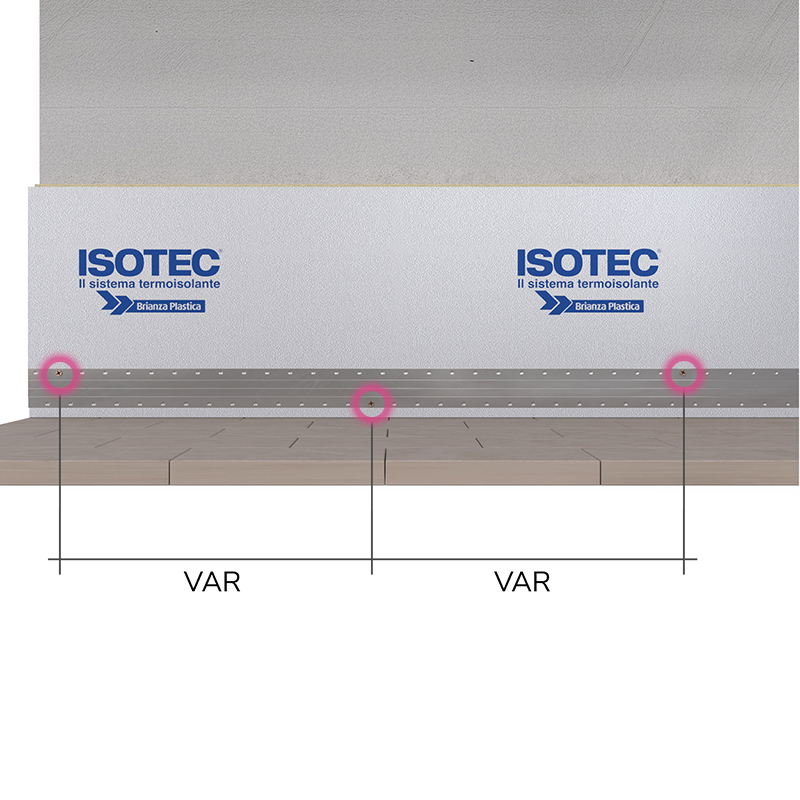
For correct fixing, use the holes on the stiffener and alternate between its lower and upper sections.


1
INSTALLATION OF PANEL TO THE WALL
The Isotec Linea panel is fixed to the supporting structure using screw anchors and tapping screws passing through the stiffener. The type and number of fasteners will depend on the structure and the weight of the cladding. Installation must proceed from the bottom to the top, and from left to right along the wall.
2
BUTYL TAPE APPLICATION
Apply aluminium butyl tape along all vertical joints and any exposed polyurethane areas to ensure insulation protection.


3
FIXING OF EXTERNAL CLADDING
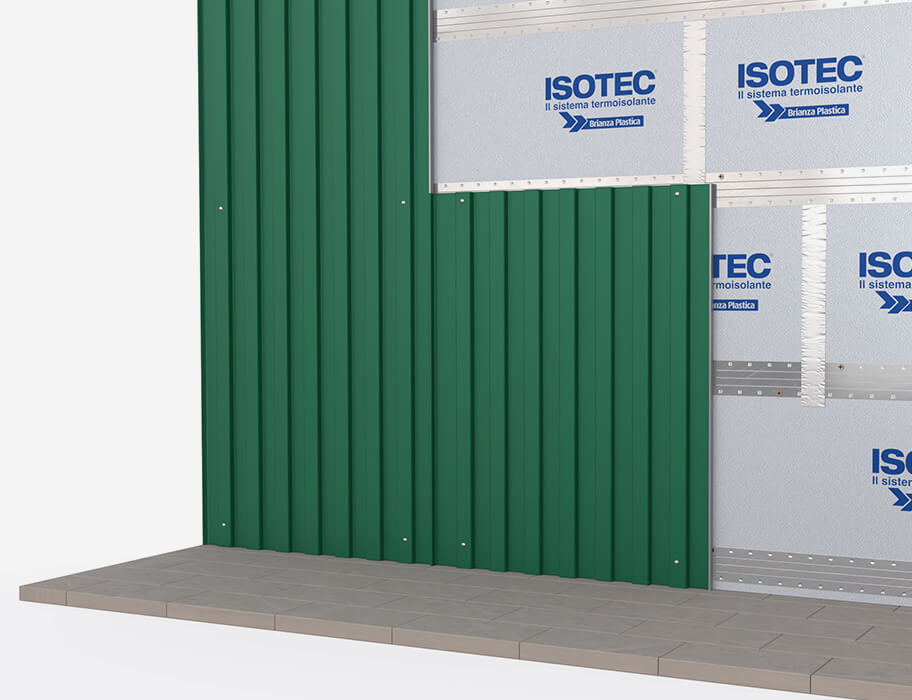
Secure the cladding to the metal stiffener using mechanical fasteners. The type and number of fasteners will depend on the finishing material selected.
