Installation
ISOTEC INSTALLATION VIDEO
Watch on Youtube
1
STARTING BATTEN
Fix a wooden stop board along the eaves line, with a height equal to the thickness of the panel. This board also serves as the first anchoring point for the eaves channel. An insulating layer of butyl membrane must be inserted between the stiffener and the eaves. In case of tile or pantile roof covering, trim the panel along its longitudinal side.

2
SEALING THE DOVETAIL WITH SILICONE
Seal the lateral joints of the panels, which are shaped like dovetails, with single-component silicone before interlocking them. Continue laying the subsequent panels until the row is complete.
3
POSITIONING AND FIXING THE PANEL
Fix the panel using expansion anchors for reinforced concrete structures, self-tapping screws for steel structures, and lag screws for wooden structures.
Space the fixings approximately one metre apart. Always apply the fixings to the flat rear part of the metal stiffener.


4
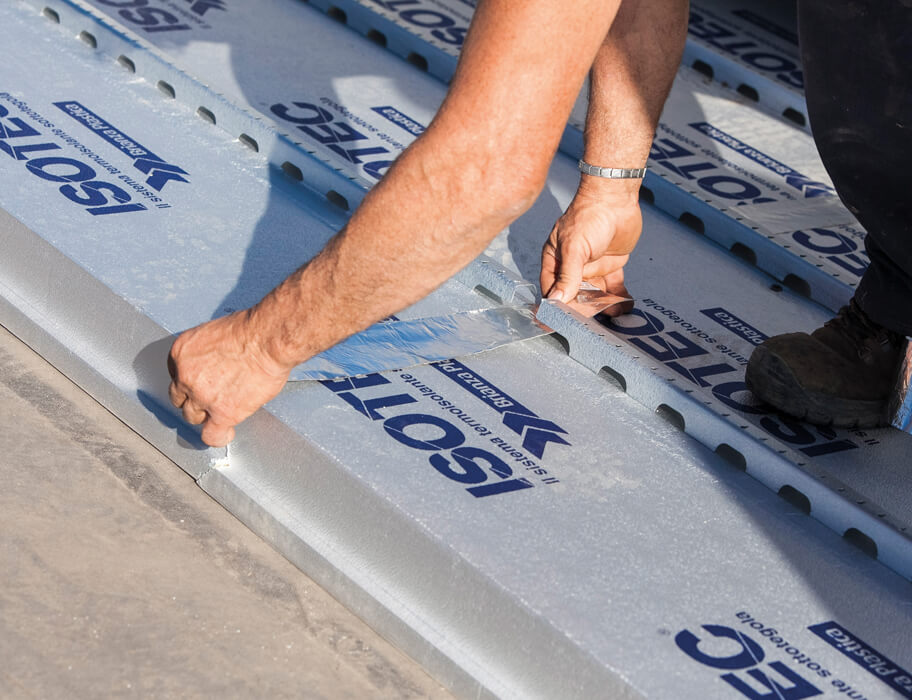
APPLYING BUTYL ALUMINIUM TAPE
Once the panel has been laid and fixed, waterproof the joint using the Isoband butyl aluminum membrane. Continue laying the next panel until the end of the row, cutting off any excess portion, which should then be used to begin the next row. Repeat the process for each row until reaching the ridge of the roof slope.
5
CUTTING THE PANEL
The panel can be cut in two steps—using a rigid-blade handsaw for the foam part and a disc grinder for the metal part—or in a single step using only a disc grinder. Before fixing the panel, pull it toward the one below to ensure the interlocking edges fit together correctly.


6
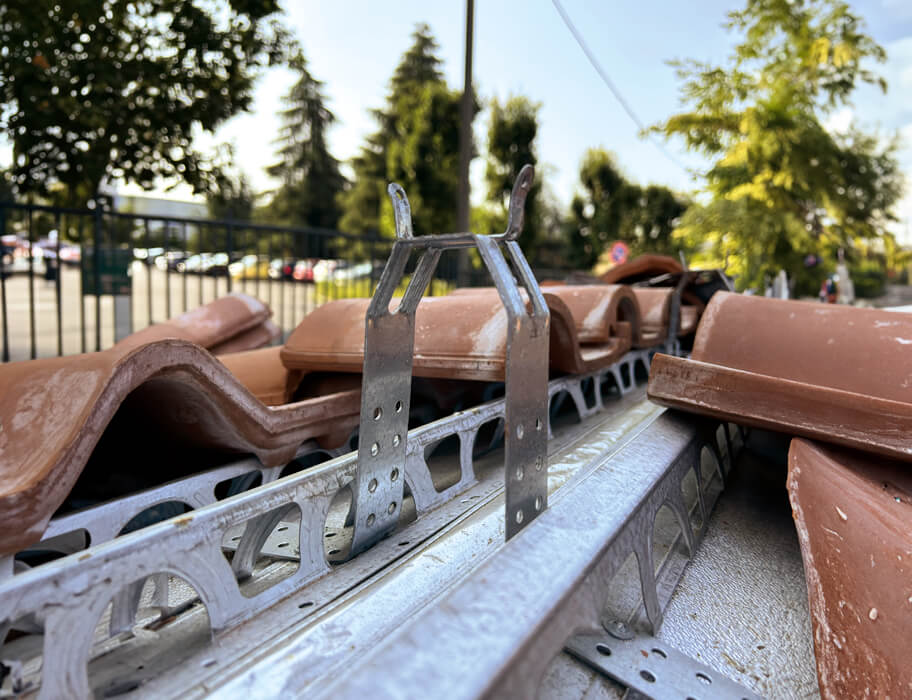
VENTILATED RIDGE BRACKETS
Near the ridge line, complete the roof slope with a panel shaped to match the dimensional requirements of the ridge area. Fill the space between the ridge closing panels and the lateral connection with polyurethane foam. Trim any excess foam and waterproof with butyl aluminum membrane. Create the support for the last row of ridge tiles with a dedicated stiffener fixed to the underlying structure. Fix the under-ridge brackets to the flat surface of the stiffener.
7
VENTILATED RIDGE
Lay and anchor the ridge underlay by inserting it into the appropriate tabs located at the top of the brackets. This is a fundamental element in the construction of the ventilated roof insulation system, as it channels the air drawn in at the eaves through the ventilation chamber and outwards.


PROTRUDING PARTS
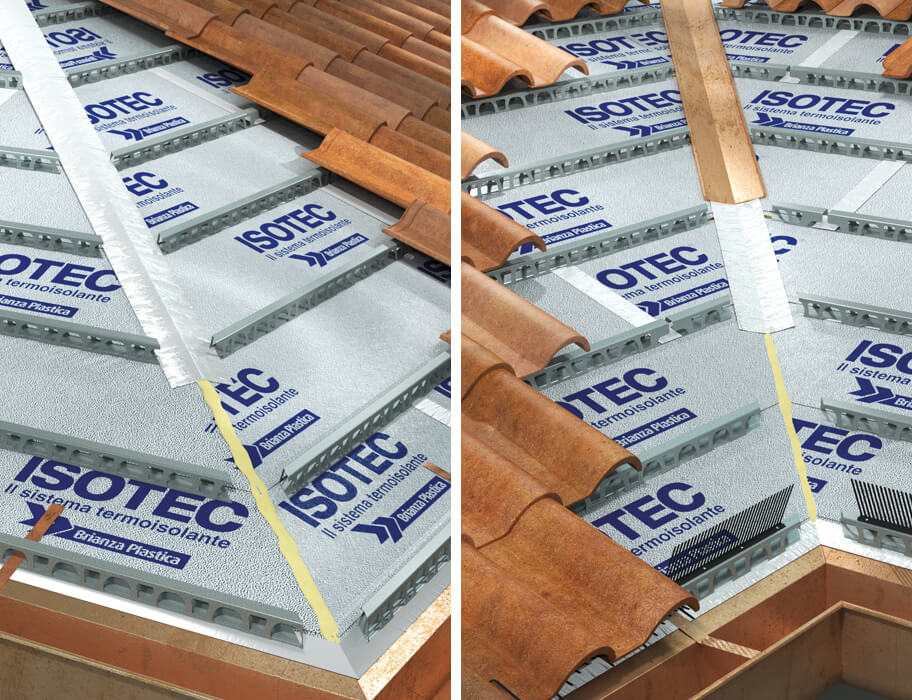
COMPLUVIUM AND DISPLUVIUM
Along the compluvium (valley), ridge and displuvium (hip) lines, it is recommended to fill any voids caused by irregular panel cuts with extruded polyurethane foam. This ensures continuity of the aluminium cladding and prevents the formation of thermal bridges. Before applying the aluminium butyl tape, use a cutter knife to remove any excess foam.

